In this tutorial, we will deploy a Go backend to an AWS EC2 instance. We will use Nginx as a reverse proxy to serve the API and SSL to secure the connection and add a custom domain.
This is a follow-up to a previous tutorial where we built a complete REST API in Go using Gin. You can find the full tutorial at Complete REST API in Go – Build an Event App.
Table of contents
Prerequisites
Before we begin, make sure you have:
Setting up EC2
Step 1: Launch an EC2 Instance
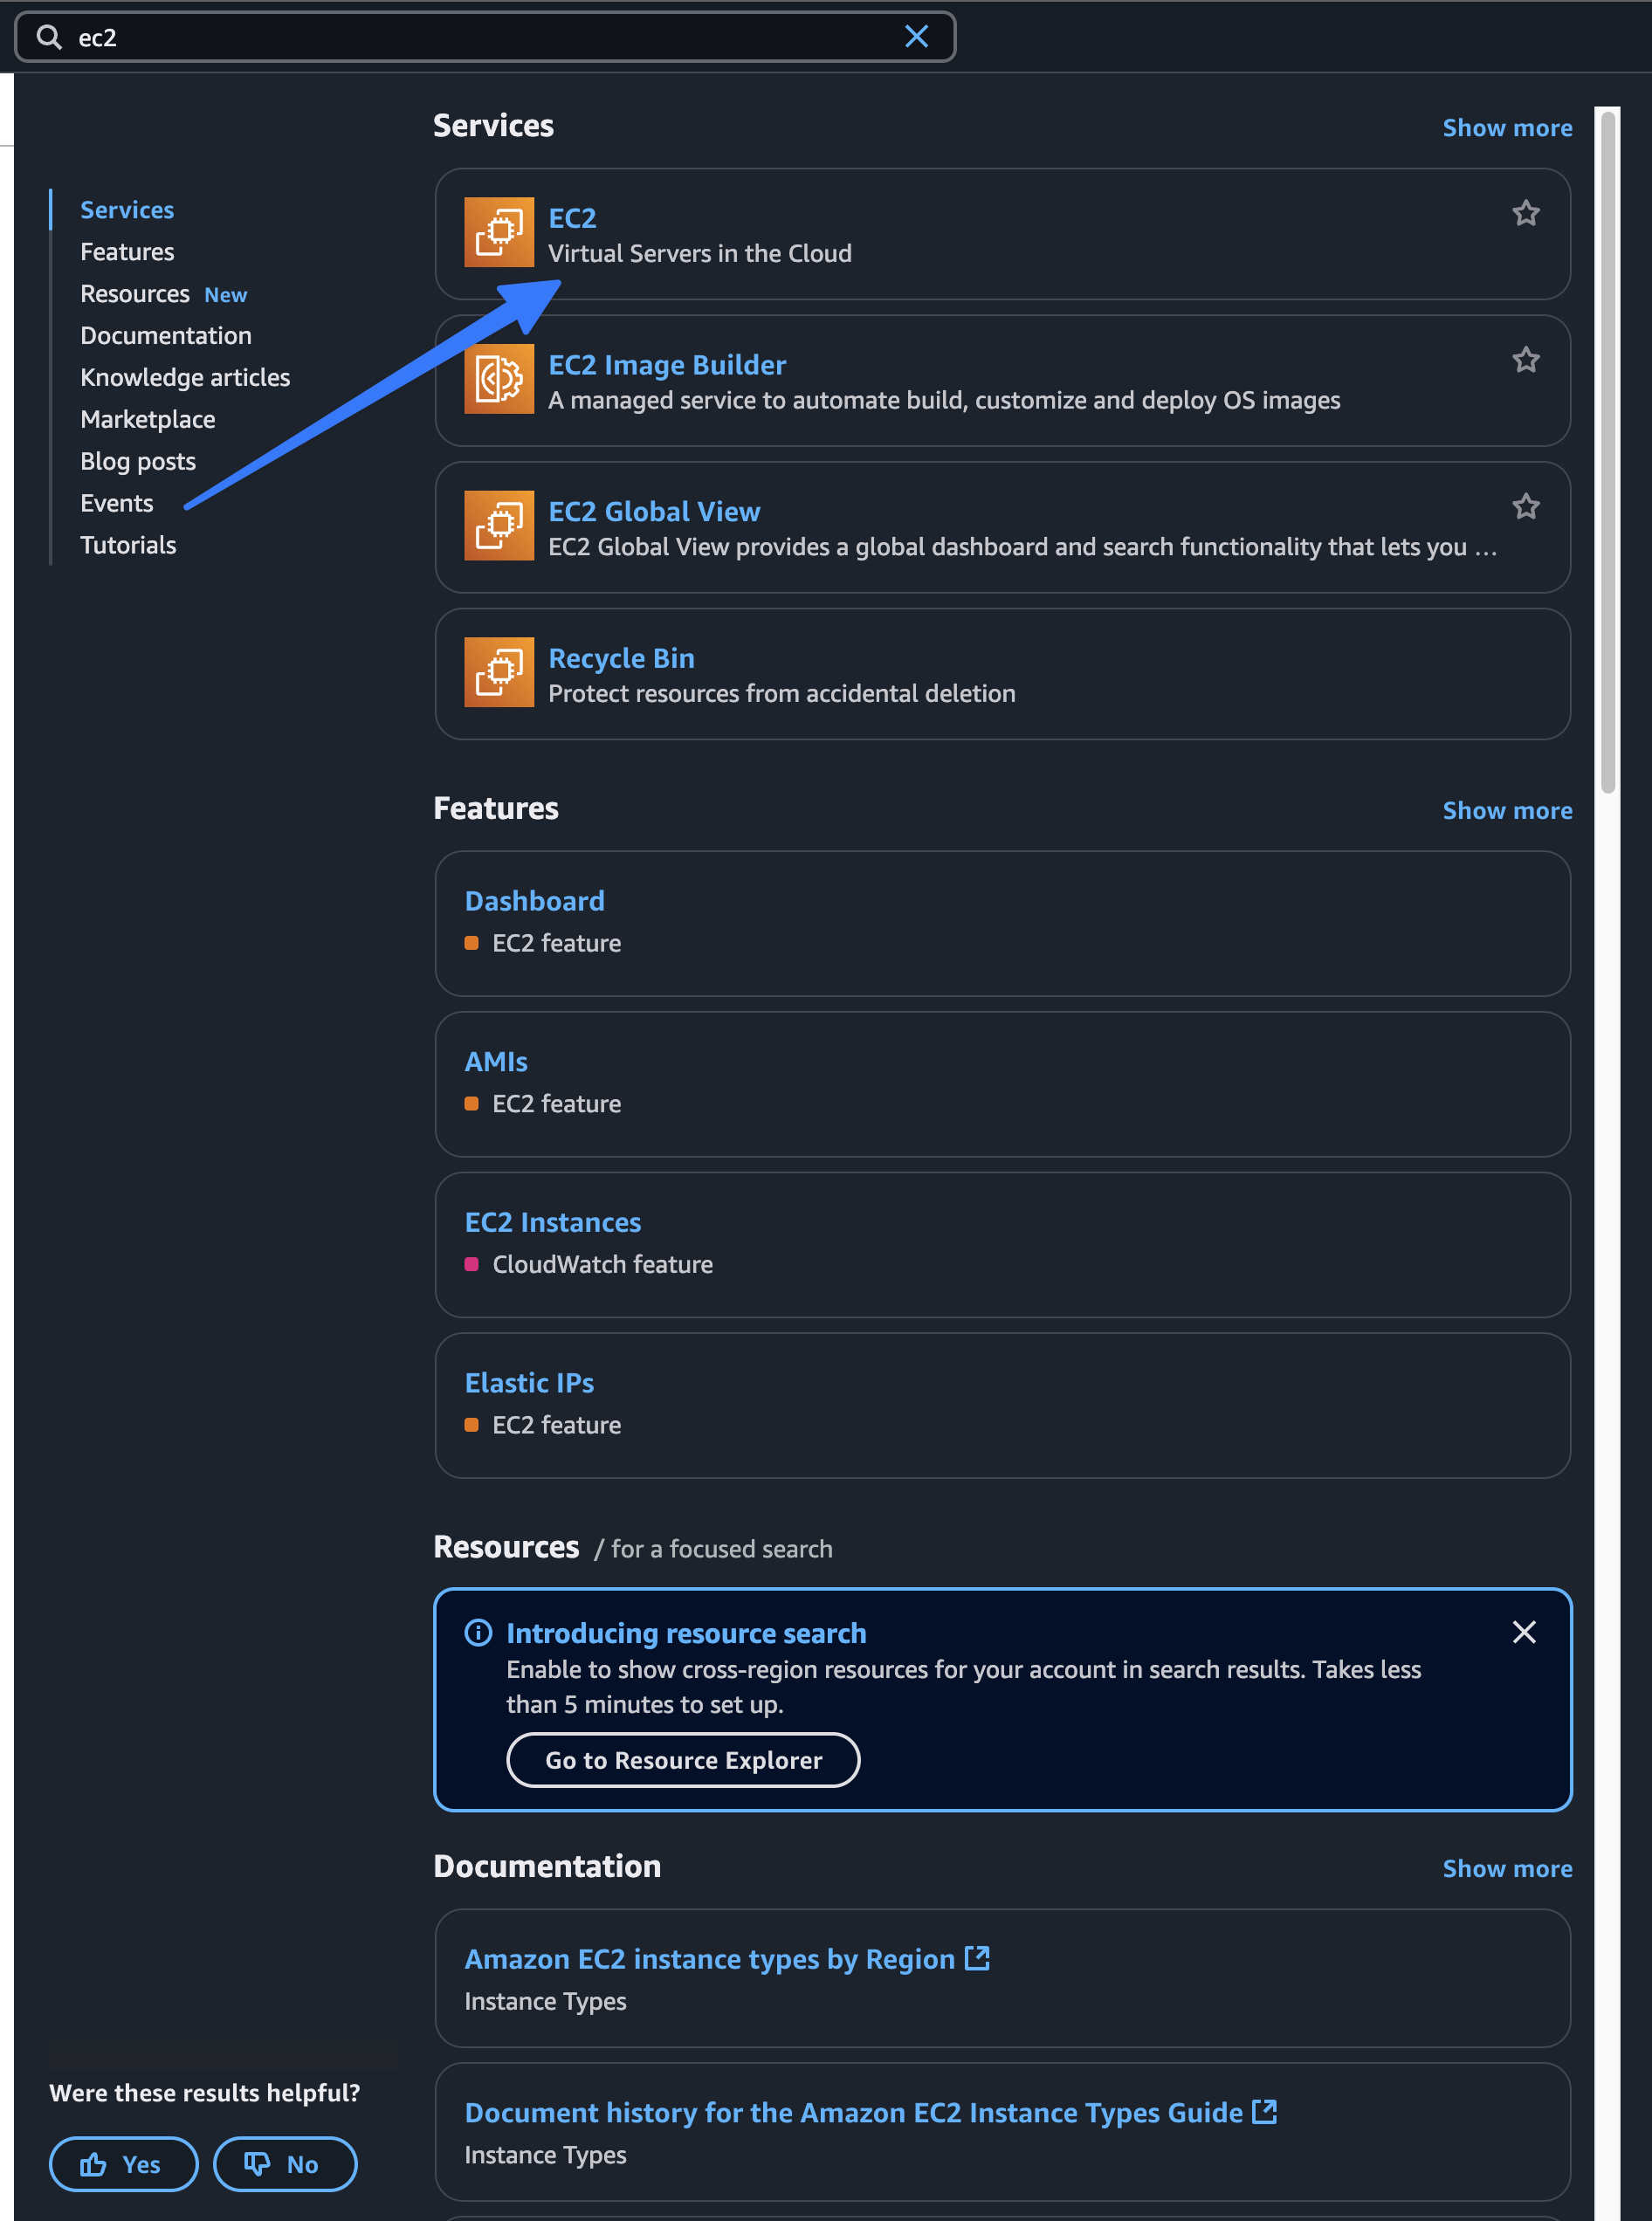
- Access AWS Console:
- Open the AWS Console and use the search bar to navigate to EC2.
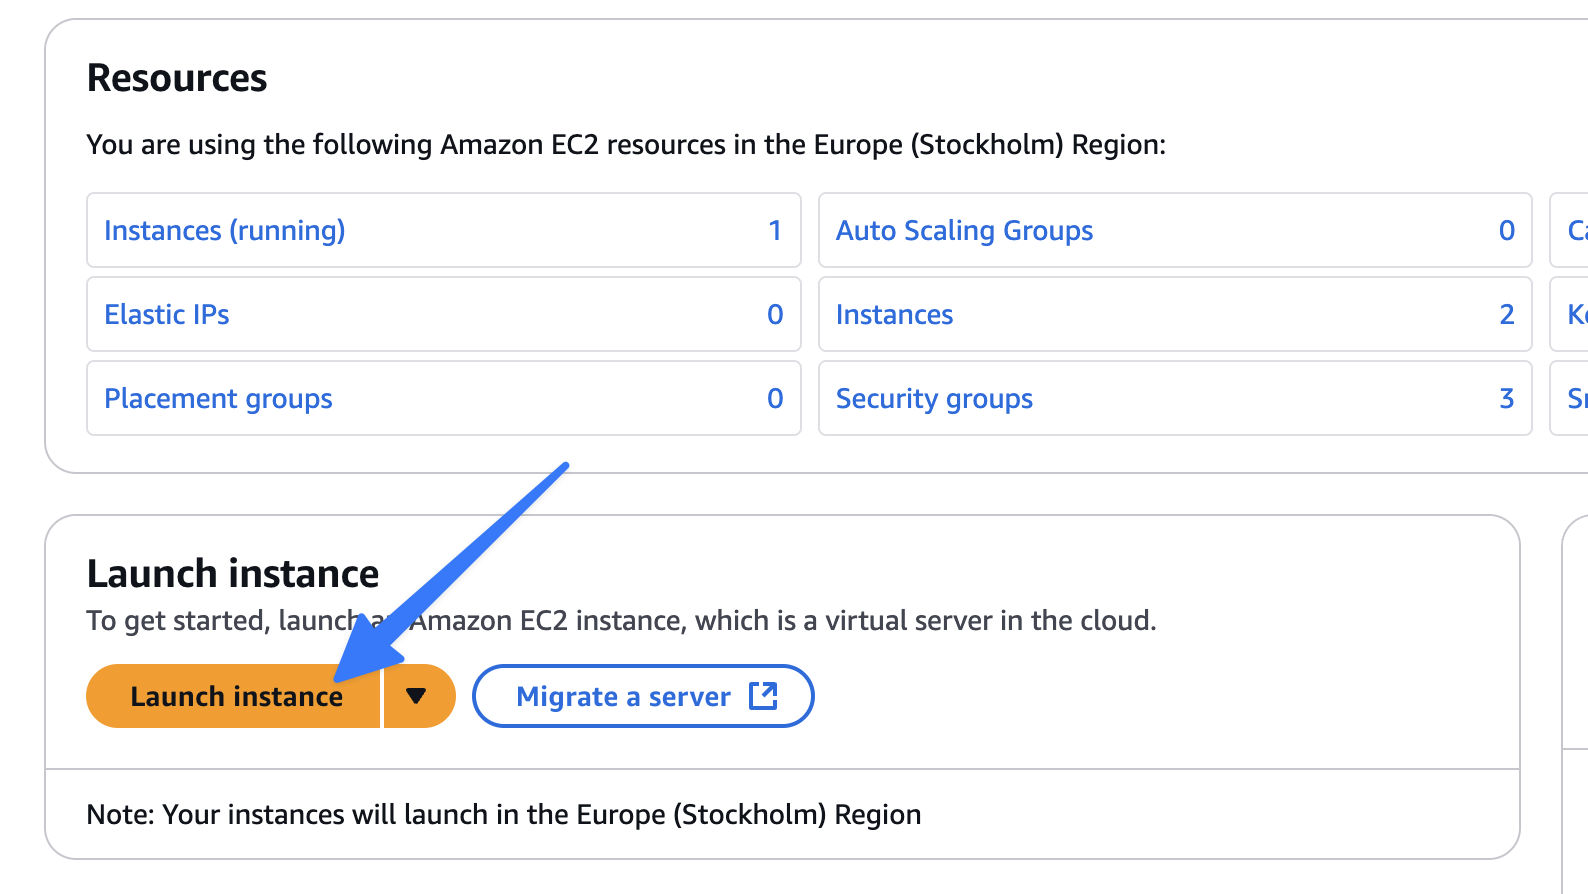
- Launch Instance:
- Click on "Launch Instance."
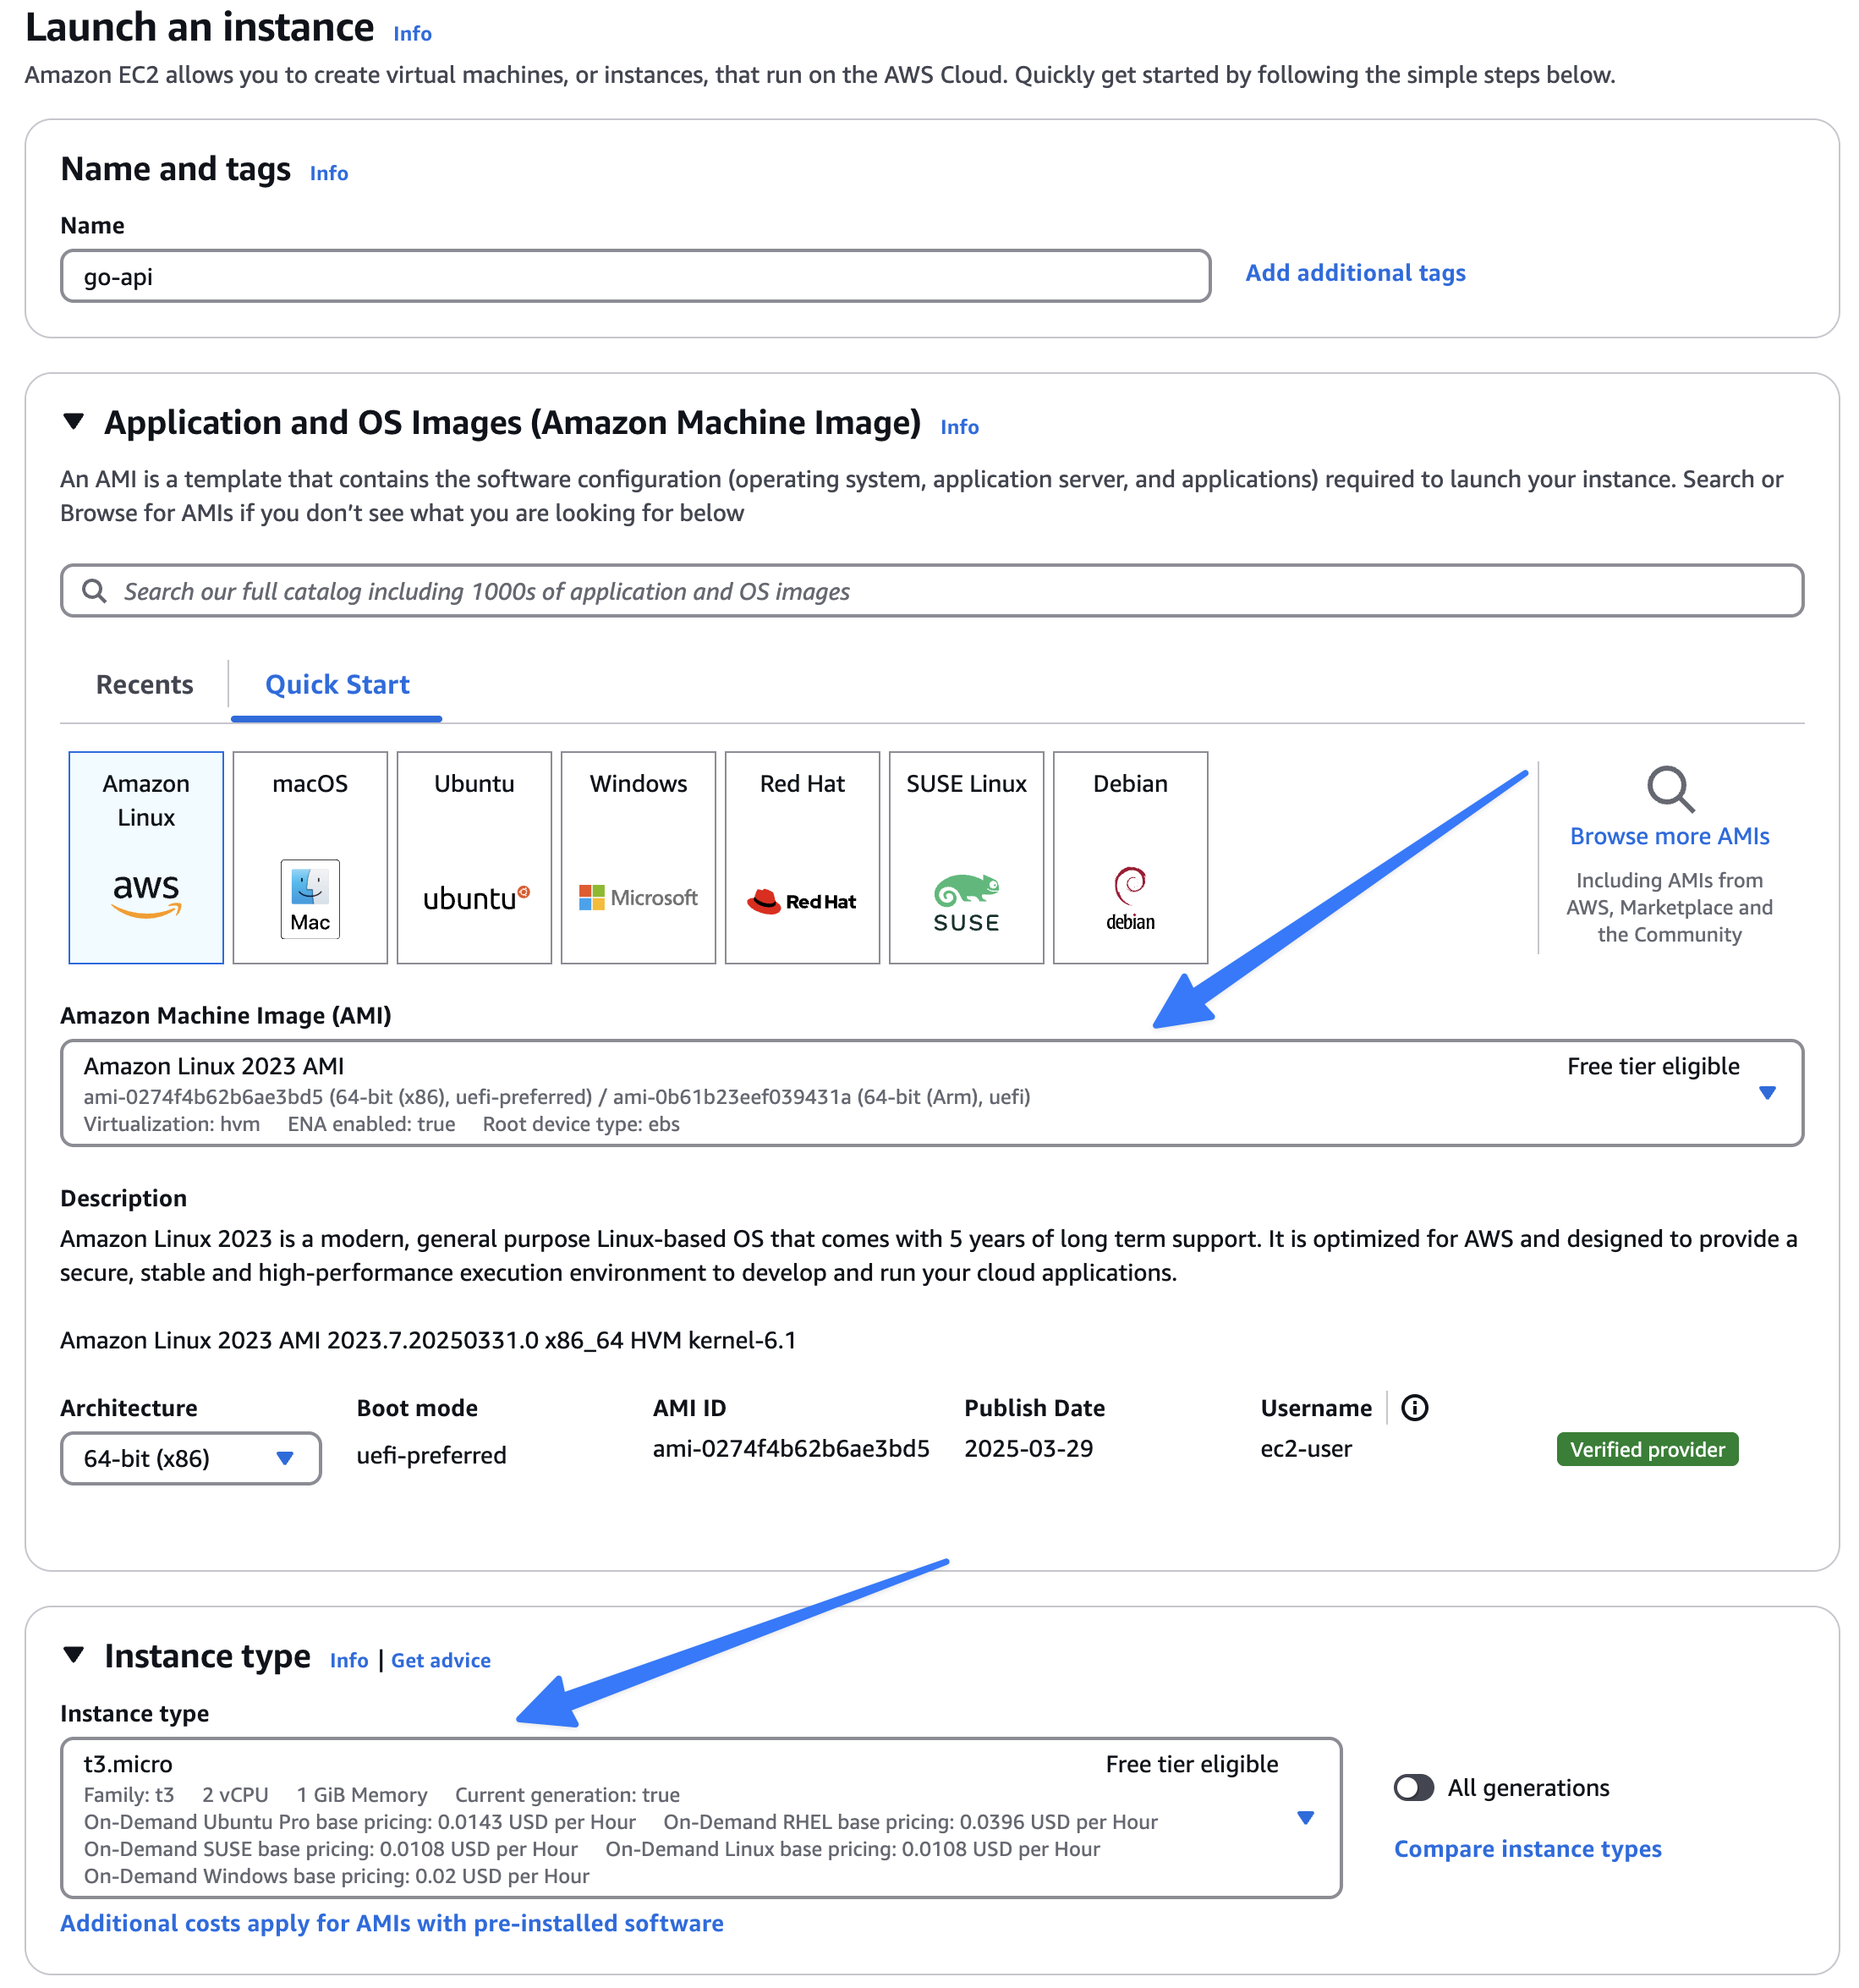
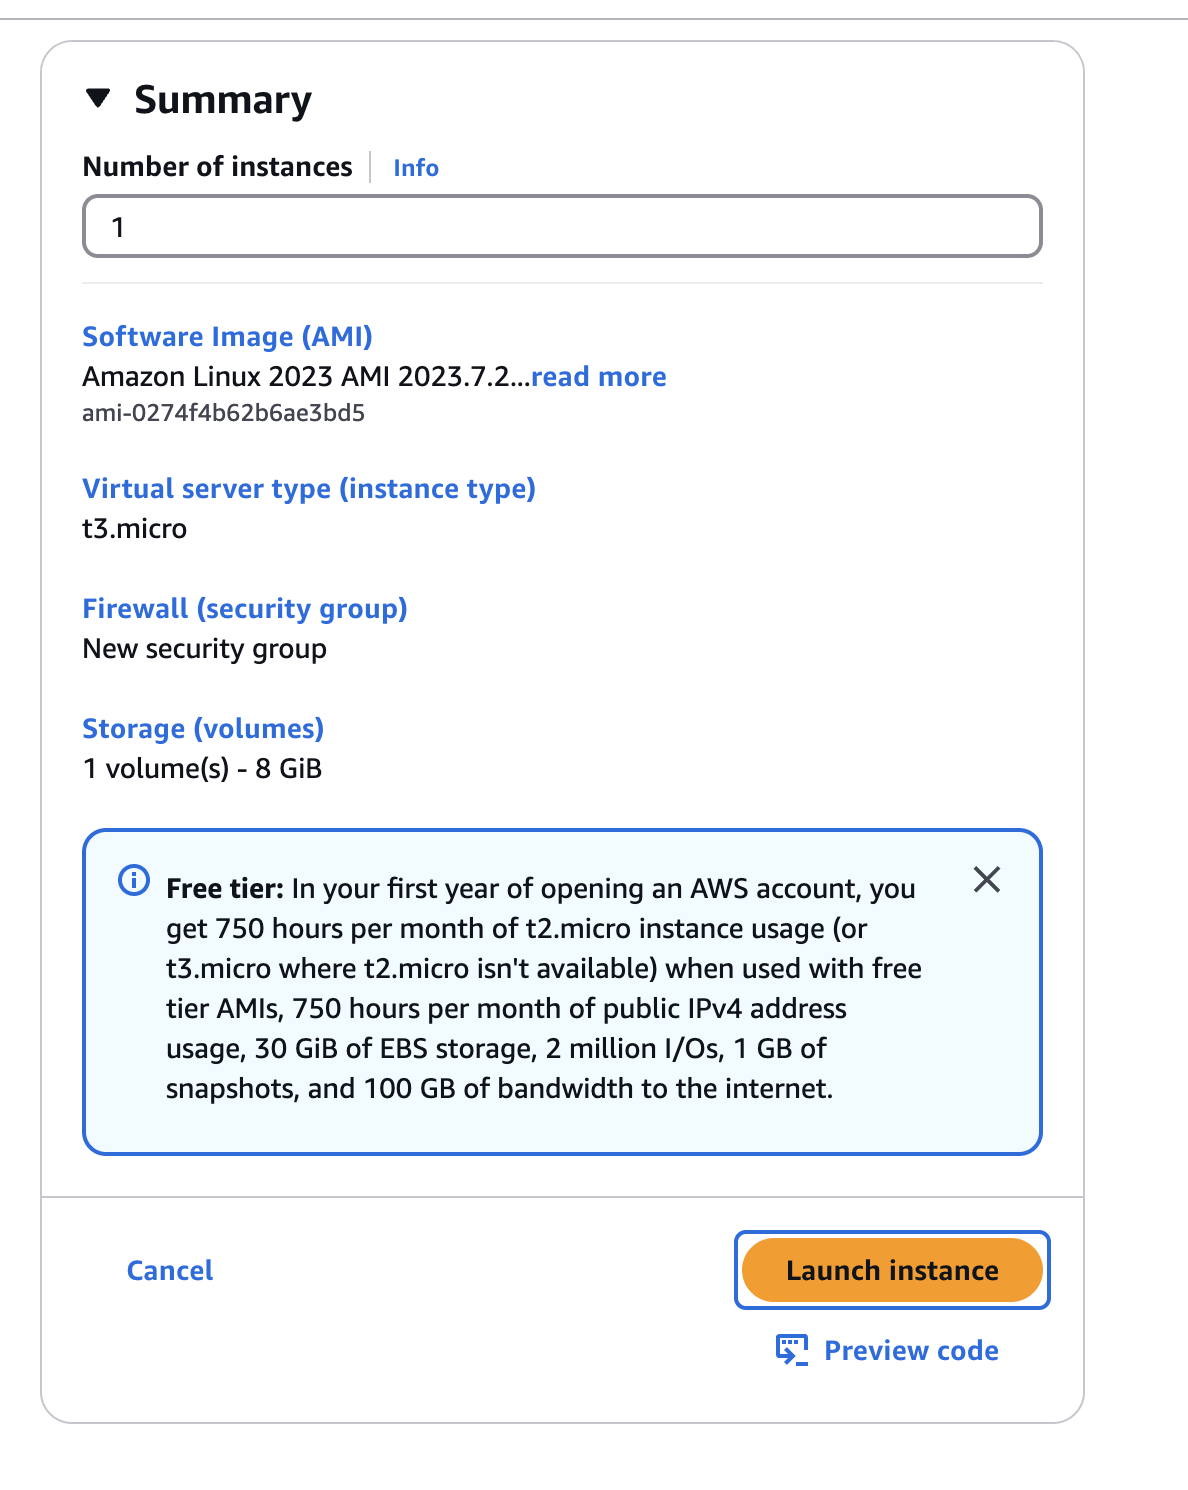
- Configure Instance:
- Name:
go-api - AMI: Amazon Linux 2023
- Instance Type: t3.micro (free tier)
- Key Pair:
- Create a new key pair named
go-api-keyand assign it to the instance.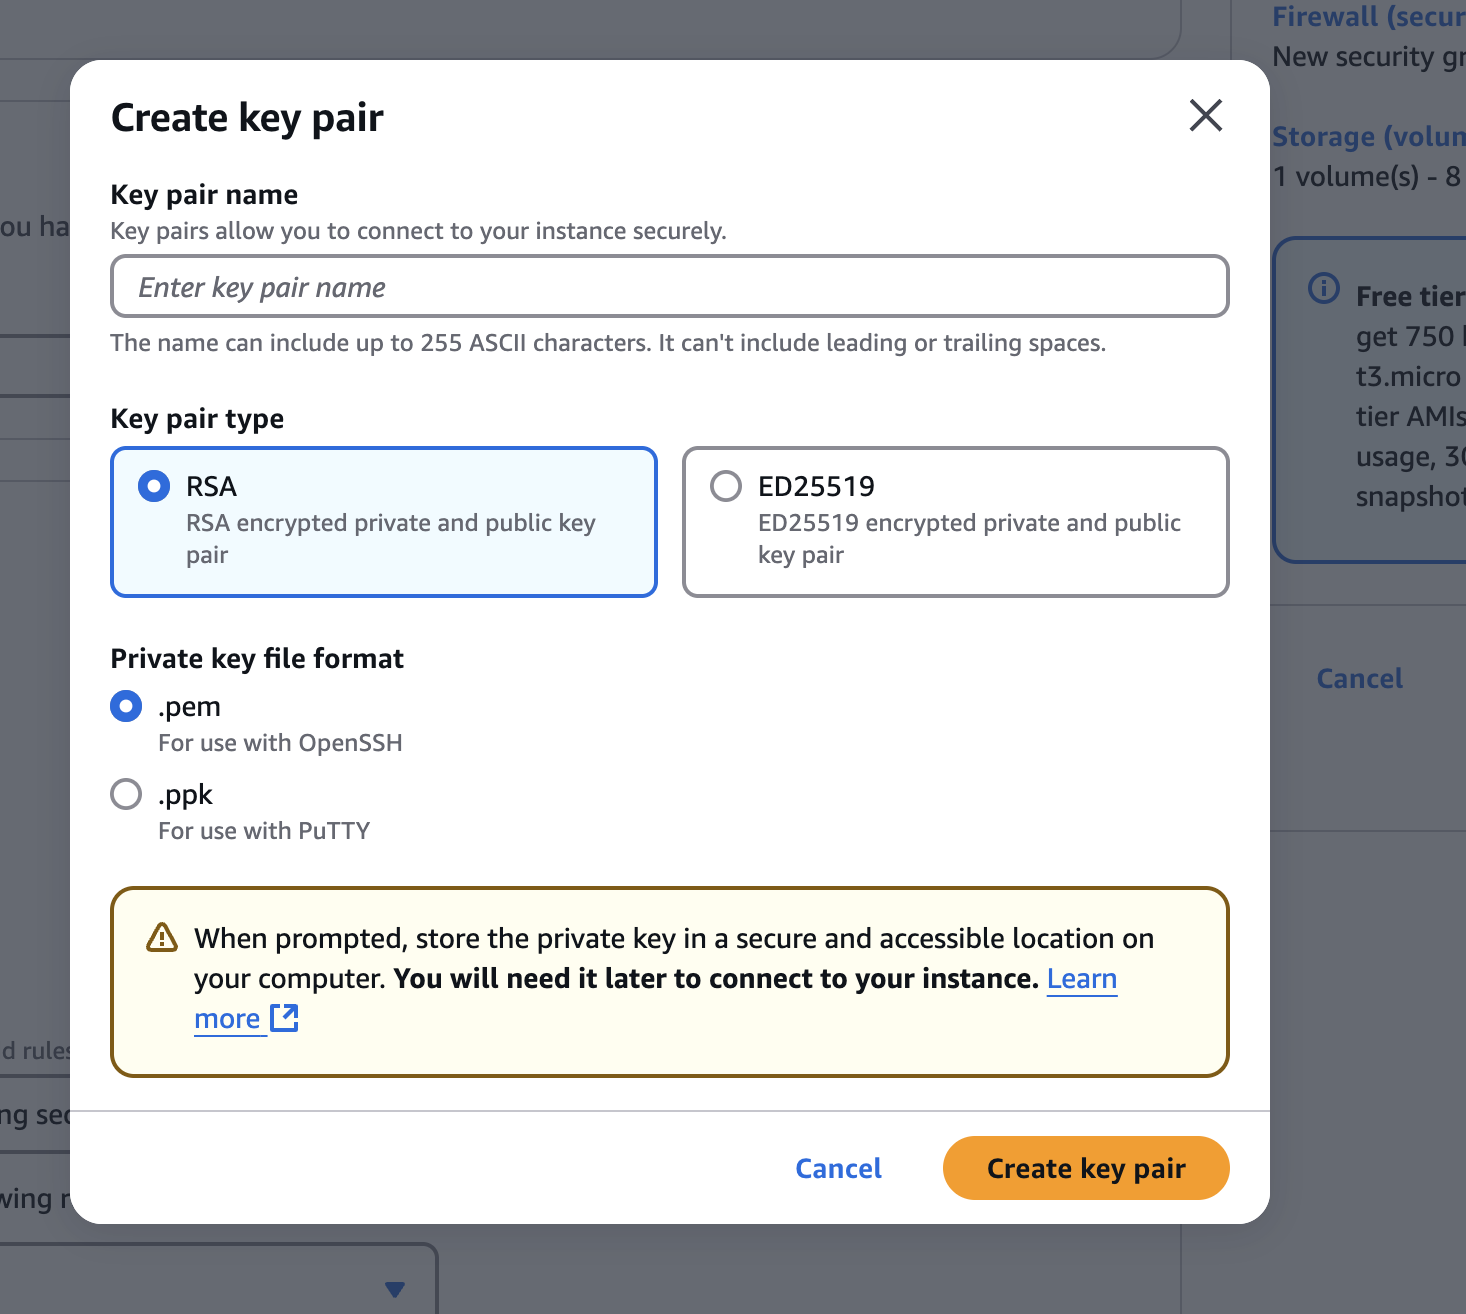
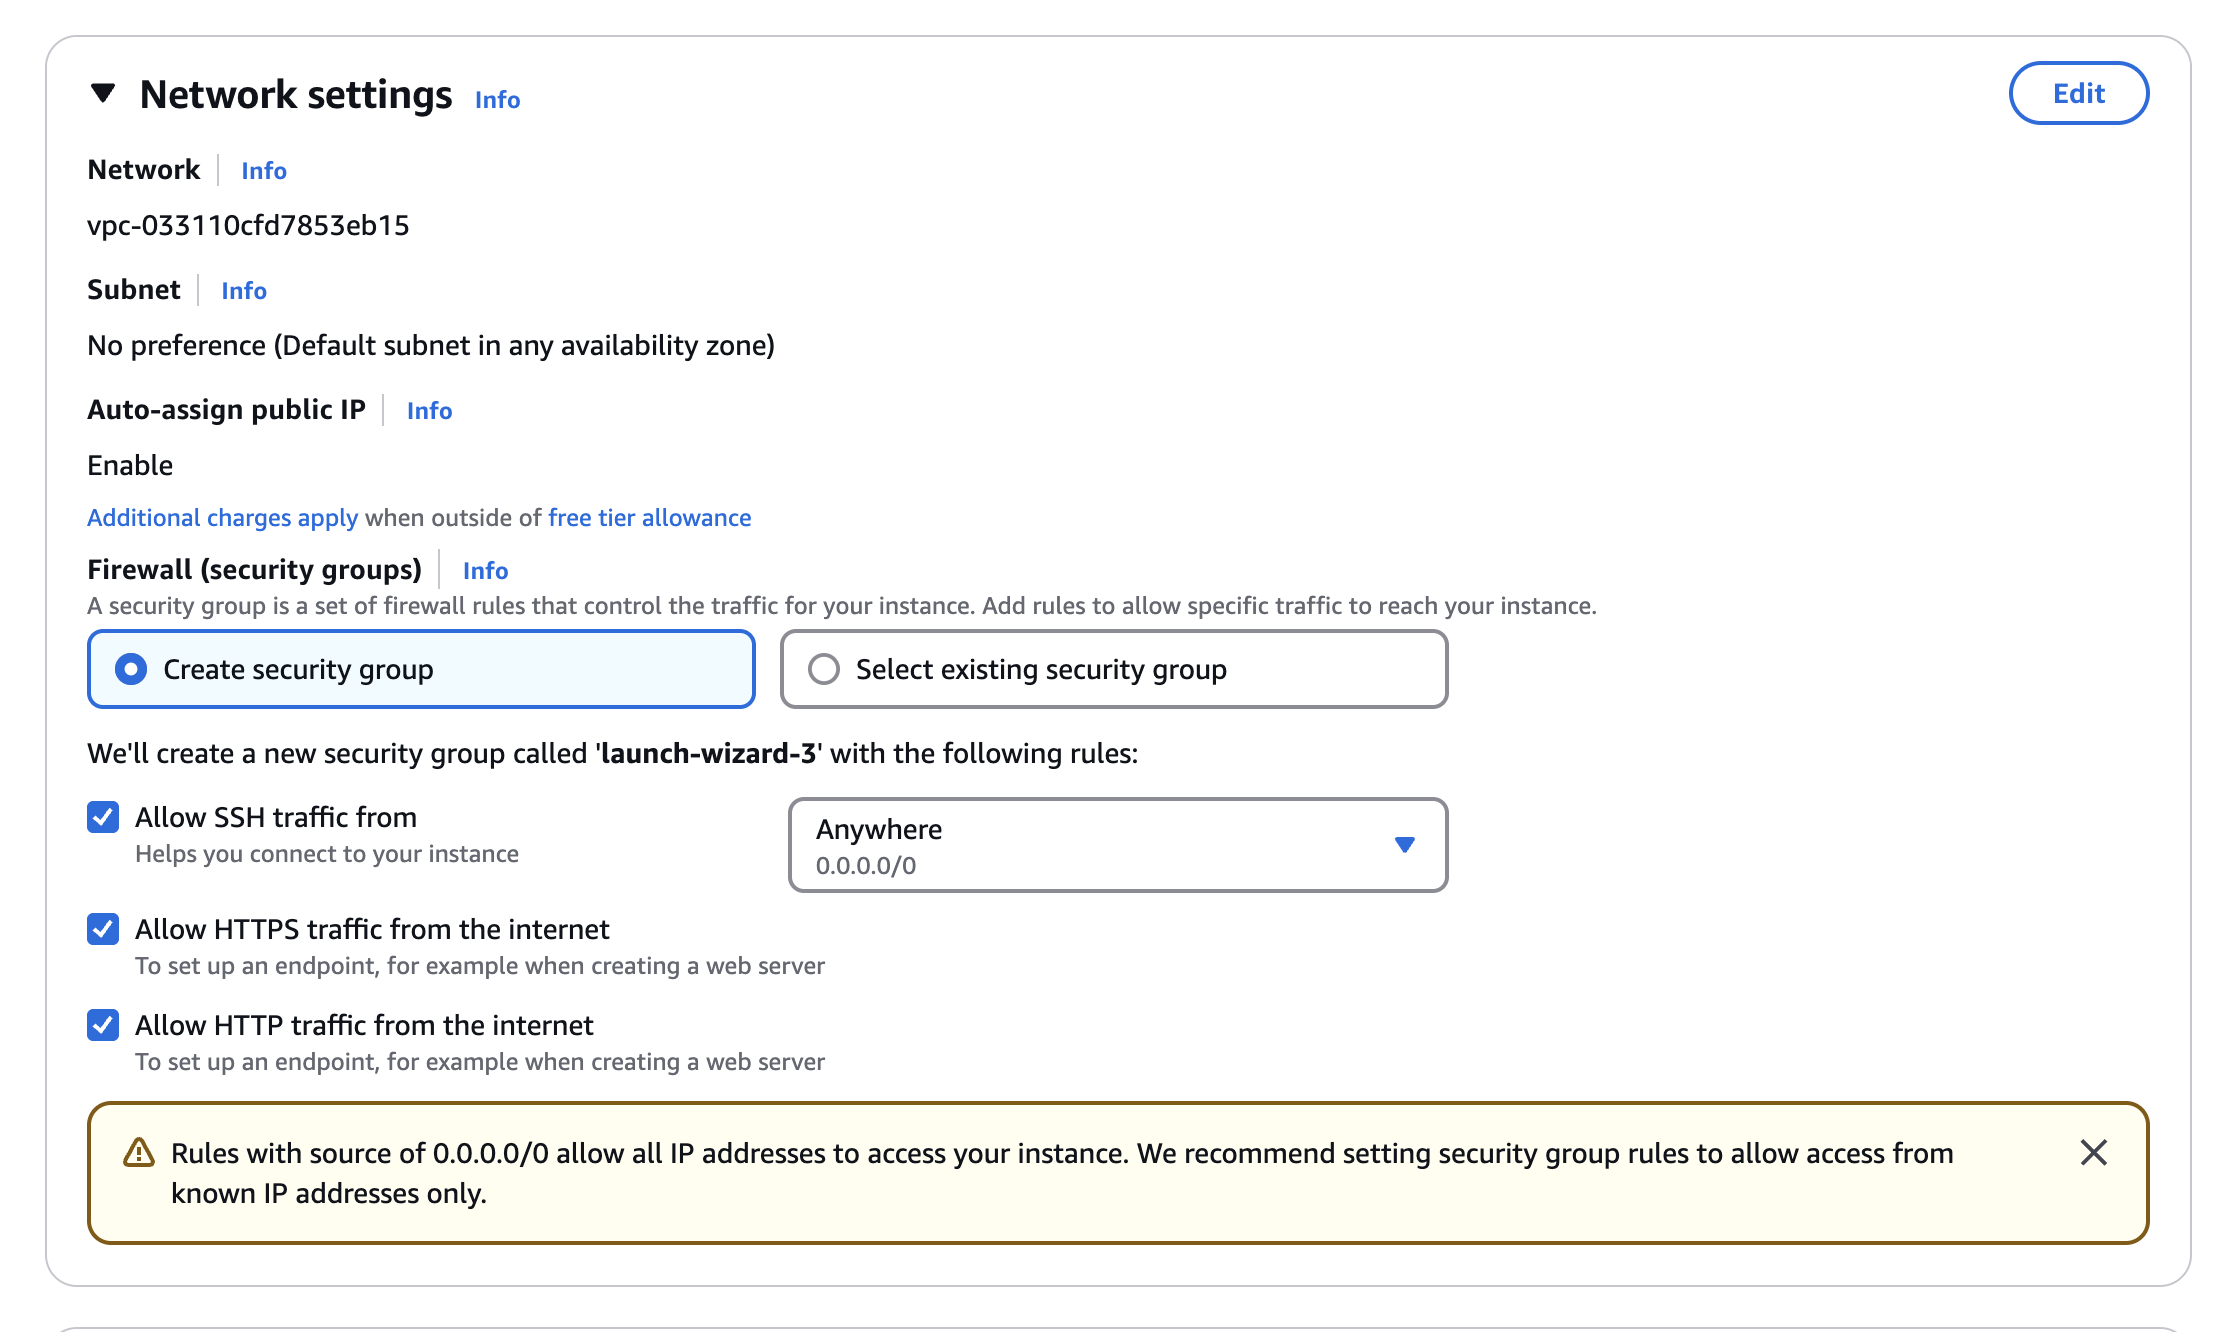
- Network Settings:
- Create a security group with the following inbound rules:
- SSH: TCP, Port 22, Source: Anywhere (0.0.0.0/0)
- HTTP: TCP, Port 80, Source: Anywhere (0.0.0.0/0)
- HTTPS: TCP, Port 443, Source: Anywhere (0.0.0.0/0)
- Storage and Advanced Details:
- Storage: 8 GB (default)
- Advanced Details: Default settings
- Launch the Instance:
- Click "Launch instance."
Step 2: Connect to the EC2 Instance
- Set Key Pair Permissions:
- After downloading the key pair, open a terminal and set permissions:
chmod 400 go-api-key.pem - This ensures only the owner can read the file, preventing connection errors.
- Connect to the Instance:
- Find the instance's IP address in the EC2 instance details.
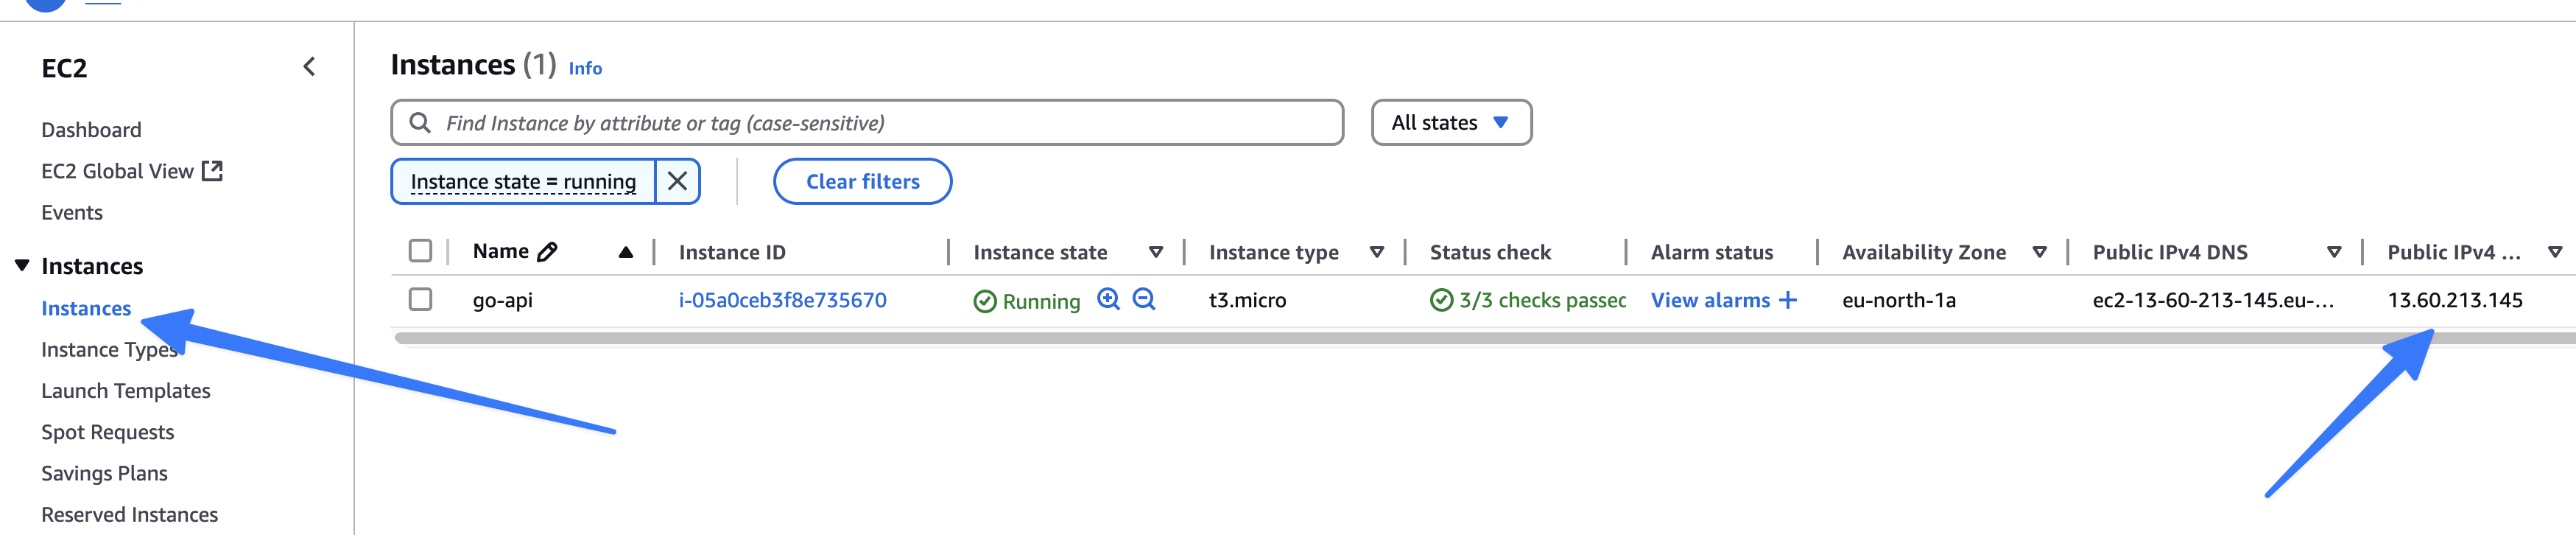
- Use the terminal to connect using the key pair:
ssh -i go-api-key.pem ec2-user@your-instance-ip ec2-useris the default username for Amazon Linux 2023.
Building the Application on EC2
- Inside EC2 instance install Git and Go:
sudo dnf install git golang -y - Clone the Repository:
git clone https://github.com/patni1992/Rest-api-in-go-gin.git - Navigate to the Repository:
cd Rest-api-in-go-gin - Run Migrations:
- Run migrations to create the database:
go run ./cmd/migrate/ up - Build the Application api binary:
- Build the application using
go build:go build -o events-api ./cmd/api
Deploying the Application
- Make the API binary executable:
chmod +x events-api - Run the Application:
- We will run the application in the background using nohup passing the environment variables and redirecting the output to a log file:
GIN_MODE=release PORT=8080 JWT_SECRET=some-secure-value-12345 BASE_URL=https://go-api.yourdomain.com nohup ./events-api > events-api.log 2>&1 &
Verify the application is running:
curl -v localhost:8080/api/v1/eventsIf everything is working, you should see a status code 200.
Currently we can only access the API from the EC2 instance and not from the outside world, we will add a custom domain and setup Nginx to serve the API.
Stopping the Application
(This is how you can stop the application if you need to, keep it running for now)
To stop the application, you can use the kill command to terminate the process. First, find the process ID (PID) of the running application:
ps aux | grep events-apiThis will list the processes related to events-api. Look for the line that corresponds to your running application and note the PID (the number in the second column).
Then, use the kill command to stop the application:
kill <PID>Replace <PID> with the actual process ID you found. This will terminate the application running in the background.
Adding a Subdomain
- Create a Subdomain:
- In your domain registrar's DNS settings, add a new A record for your subdomain (e.g.,
go-api.yourdomain.com) pointing to your EC2 instance's public IP. This is how it looks in Cloudflare:
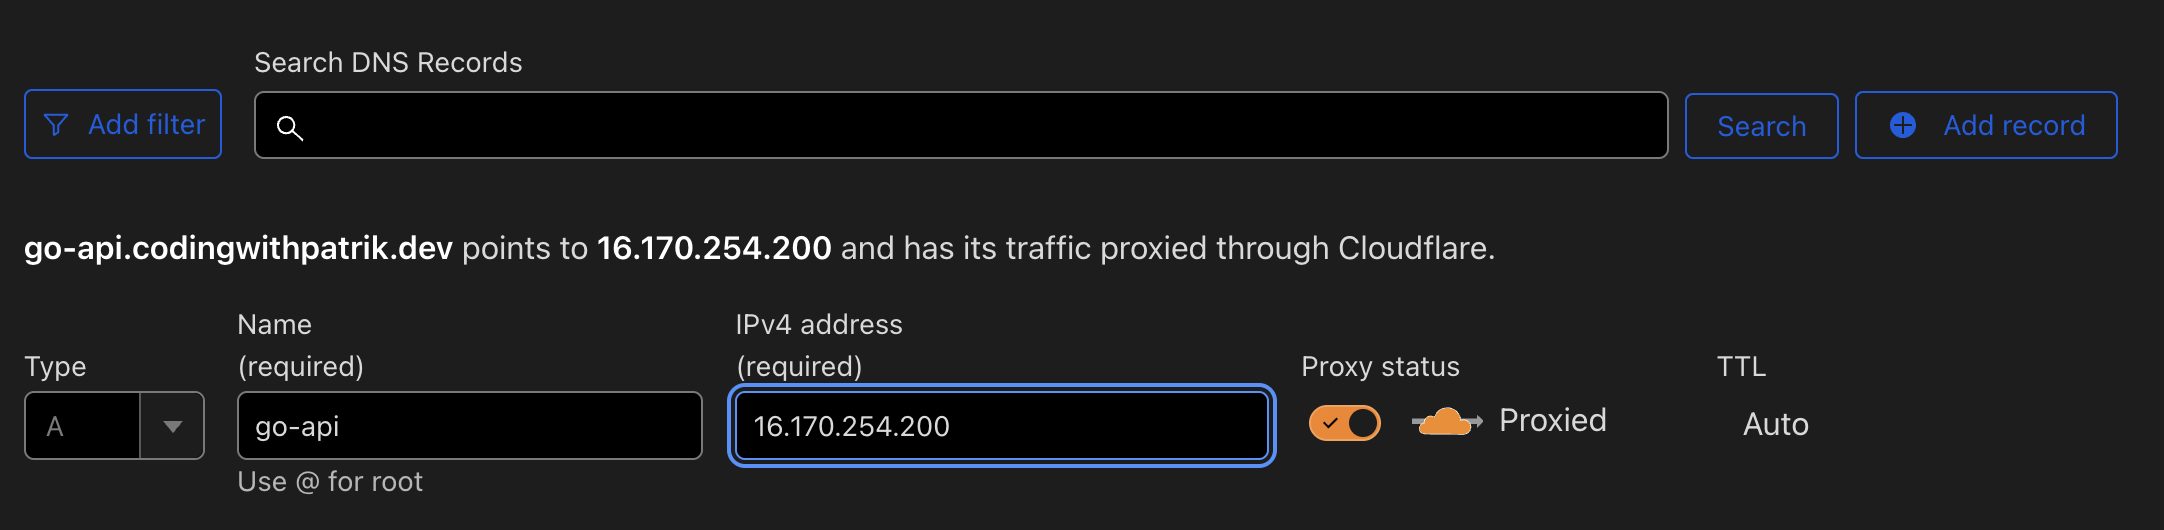
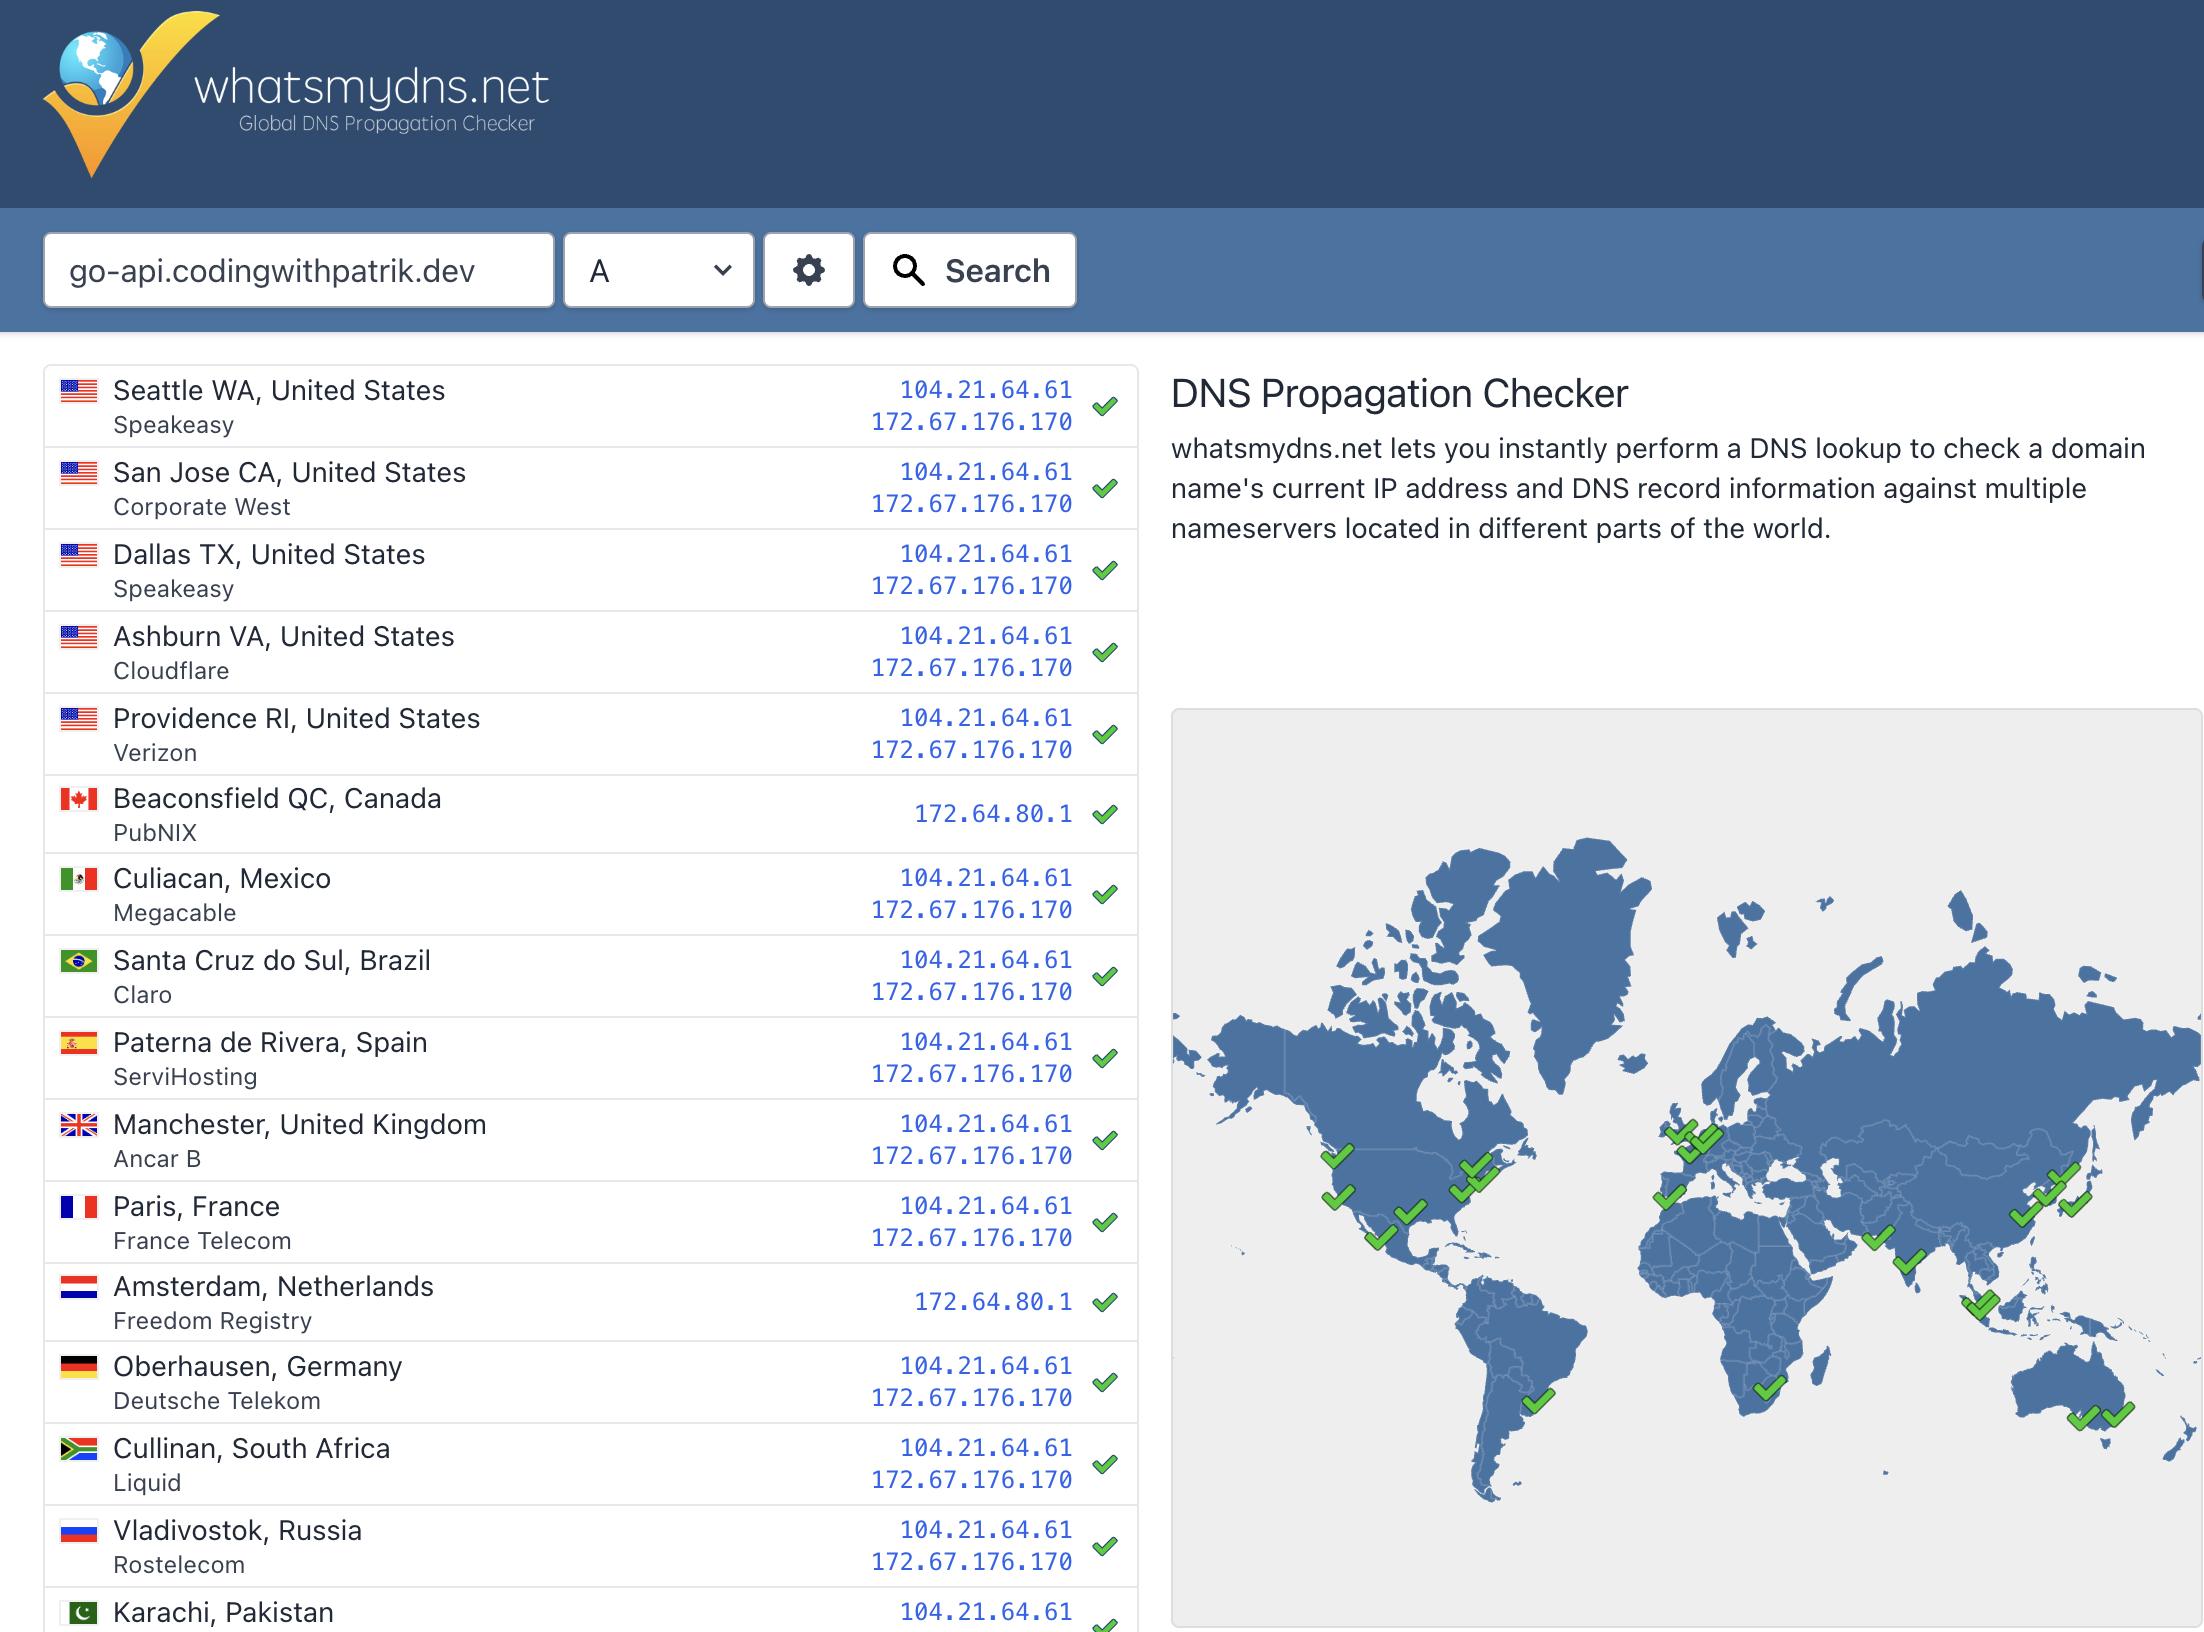
- Verify Propagation:
- Use tools like whatsmydns.net to ensure the subdomain points to the correct IP.
Configuring Nginx for SSL
1. Install Nginx
sudo dnf install nginx -y2. Configure Nginx
- Edit Nginx Configuration:
- Open the Nginx configuration file with nano or vim if you prefer:
sudo nano /etc/nginx/nginx.conf - Add Required Blocks:
- Ensure your configuration includes the
eventsblock and thehttpblock:
events { worker_connections 1024; } http { server { listen 80; server_name go-api.yourdomain.com; location / { proxy_pass http://localhost:8080; proxy_set_header Host $host; proxy_set_header X-Real-IP $remote_addr; proxy_set_header X-Forwarded-For $proxy_add_x_forwarded_for; proxy_set_header X-Forwarded-Proto $scheme; } } } - Test Nginx Configuration:
sudo nginx -t - Restart Nginx:
sudo systemctl restart nginx
3. Obtain SSL Certificate
- Install Certbot:
sudo dnf install certbot python3-certbot-nginx -y - Obtain and Install SSL Certificate:
sudo certbot --nginx -d go-api.yourdomain.com - Automate Renewal:
- Certbot usually sets up automatic renewal, but you can verify with:
sudo certbot renew --dry-run
4. Verify
- Access your application at
https://go-api.yourdomain.com.
Conclusion
You've successfully deployed your Go application to AWS EC2, with a custom domain and configured Nginx for SSL. Once you know how to do this, you can deploy your application to any other cloud provider the steps will be very similar and you can learn more about other services on AWS since many of them are built on top of AWS EC2.